


Image effects shader - Devblog#08
- BruteForce
- 7 juil. 2019
- 3 min de lecture

Today I'm going to write about Image effect shaders, this might be the most effective and visible of them all. It is used as a way of post-processing rendered images.
Hehe I hope you like what I did with the title image.
The basics
Post-process shaders are a bit different than regular shaders, because they need a script with an OnRenderImage function to work !
So let's see what is the basics script that can run a post-process effect:
This simple script will take the material you give him and then draw the shader effect on to the "source" and render the output "destination".
If you have multiple effects to draw on screen here is how I do it:
You will need what I call a temporary RenderTexture to share the information.
This works on every graphics API I use (DirectX, Opengl, Vulkan)
Now you will have something like this:

A blackscreen yeah !
Now the only thing we need to do left is writing down a post-process shader !
Simple image effect
I will demonstrate how to do the black bar cinematic effect:

This is the cinematic black band shader.
This is the script controlling it.
An important part of the shader is this: Cull Off ZWrite Off ZTest Always
Most post-process shaders will contain these states.
The shader work is in the frag part, we get a _maintex which is the Screen. Then we split it in 2 bands and offset it by a float _BandsWidth .
And finally we multiply it by a color (black in this case) and returns it.
The script has a Coroutine called "Fade" and we can use that to lerp the bands, so it can appear and disappear smoothly.
The result will be as follow:
And with little additions and some more maths you can have something with more peps than just 2 bands:
Don't forget to put the blit script in last position on your camera, so it renders last.
Fading with a mask
This is even easier than band masking, fading is used each start overs in my game and helps the transition between scenes.
This gets the screen _Maintex and a _PatternTex that will be used as a mask (remember that to mask something we need to overlap a color on top of a screen, white or black).
And we lerp it with a float value _Cutoff that will be managed via script.
For this one I used tweening, but if it's not your thing you can just as well use a coroutine like up above.
The beautiful result in a loop:

The mask is barely visible but it fades the screen from bottom to top really quickly. In this one I also used a raycast to determine when to trigger the fade in and a distance to lerp it.
The new post-process stack tool
Before doing your own shader, you should check out if it's not already in the unity pipeline.
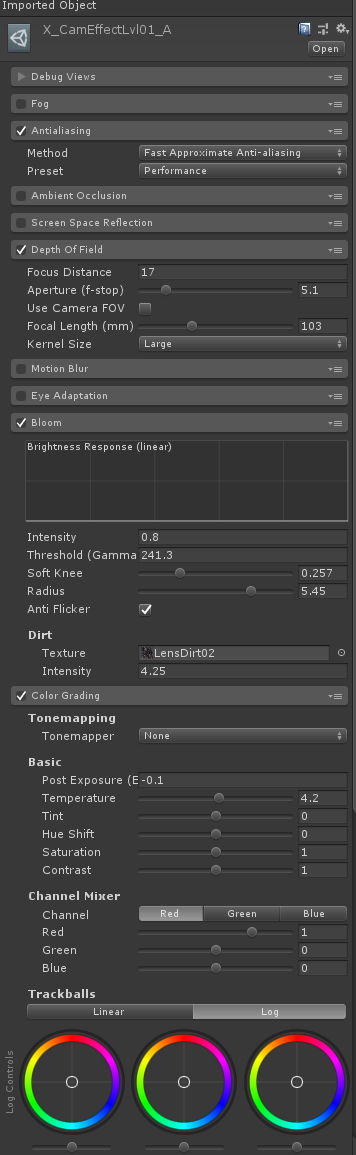
It really is a great tool and I use it for everything (Bloom, DOF, Color grading etc...)
You can search for it in the Unity Asset Store at "Post processing stack" and it's free.
Conclusion
It got big really fast, I think I covered the basics of image effects. Don't overuse them as they can be process-consuming like a blur shader.
Use the Post-process stack when in doubt.
This will be the last devlog about shaders for now as I want to go deeper into the script/3d art part, so you can expect some on how I did the tongue hook in Crumble and maybe more on physics.
Some asked me about a marketing and communication devblog but since Crumble isn't even out yet I don't feel comfortable telling you what I still don't know too much about.
Don't forget to wishlist Crumble, if you want to help that's the BEST WAY:
Commentaires