

First thing you should do is load up the demo scene inside the asset package "Assets\BruteForce-GrassShader\Scenes"
You will see that some files have a Standard, URP and HDRP version, choose accordingly.

Once the "01BruteForceGrass" or "01BruteForceGrassURP" is loaded you will be prompted to play the scene for a quick introduction. This will help you understand the asset better and showcase all its basic features in an environment.
In the first showcase you can use Left Click to push down grass and Right Click to remove it.
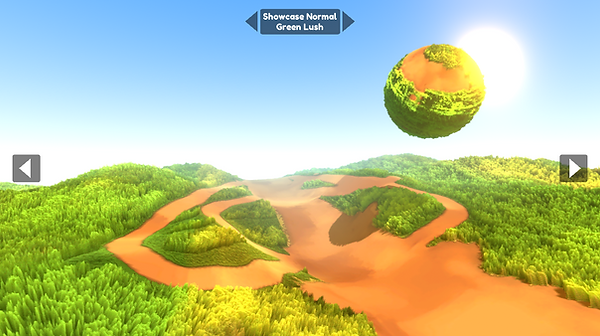
You can click the top arrows on the screen to switch sub-showcases and the left and right arrows to switch showcases.

Additionally you can use WASD to move the ball when showcased, it works great as a player template leaving an interactive trail on the grass.
Importing it in your project and Components
To use it in your project you have 2 ways to go about it, either you copy and import one of the working showcase as a starting template or you can use the setup prefabs, I will go into details what components already present in the prefab you need for the grass to work properly:

Camera Effect

The first main component you'll need if you want interactivity on your grass is a "Camera Effect" like a regular camera it will be used for rendering but this one will render to a target texture, namely: "GrassRT" and will have only ONE culling mask set to "TransparentFX", We only want to render the effects.
It needs to have a target texture set to a render texture and it also needs the script "BF_SetInteractiveShaderEffects.cs". This script will make sure your camera will render to the render texture.
If you have a moving camera you'll need to set a transform to follow (the player).
If you don't know what the global names are do not change them.
You can increase the size of the camera projection to increase the radius of the rendered effect at a precision cost, do not rotate the camera.
Grass Material

Next thing you'll need is the grass material set on a quad/mesh/cube or whatever you want to use as ground, I will explain in more depth how the Grass Shader works in the next page so you can use any materials that you want/like from the showcase or leave the prefab as is.
Particle System
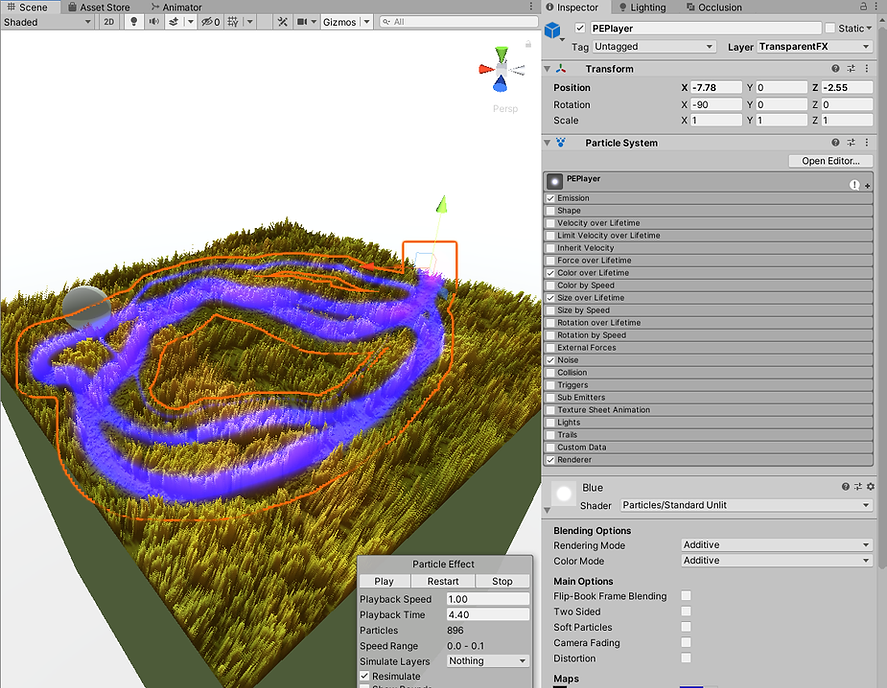
To control the interactive effect of the grass you can use a particle system set on the TransparentFX layer, the important thing to note is that only the rendered color matters:
Red colors will darken the grass, Blue colors will push it down, Green color will remove the grass.
You can use anything that can be rendered to achieve the desired effect: meshes, sprites, particle systems etc...
This means you can place a colored quad in the TransparentFX layer to have a permanent grass effect in your scene.
Increasing the Render Texture size

Depending on your project, you can increase the size of the Render Texture field so you would be able to see grass effects from much further away.
To do so you'll need to select your CameraEffect in your scene and increase the "Size" Camera variable, keep in mind that increasing this value will decrease the effect resolution.

To increase the effect resolution you can set its "Size" to 2048x2048 or 4096x4096 by selecting the "GrassRT" in your project. Changing this value will greatly increase memory consumption.

Using Vertex color Painting instead of NoGrass texture

You can now use a new feature called "Use with Vertex Painting" allowing you to paint grass area directly onto the mesh. To do so enable the pragma in the material:

By default, a white color will render full grass; a red color will show the ground.
You can simply paint the vertex color of your mesh inside a 3D engine (Blender, Maya etc...) or I strongly recommend you download the Polybrush Asset from the Package manager (see documentation). It's an official Unity asset that lets you draw colors on vertex.

You can see a practical example of this in the 06VertexColor scene:
